
Coffee Sommelier: the complete path to becoming a professional taster
19 December 2025Latte Art for Beginners: History, Techniques and a Complete Guide to the Basic Patterns


Today, it’s hard to imagine a cappuccino served in a quality coffee shop without a perfectly poured design on its surface. Latte Art has become not only a symbol of attention to detail and professionalism in the coffee world, but also one of the most fascinating aspects for anyone starting to explore the world of coffee.
In this article, we’ll take a complete journey—from the origins of Latte Art to the fundamental techniques that will help you pour your first designs: heart, rosetta, and tulip. We’ll also explore key concepts like symmetry, contrast, and how to manage height and pouring flow to achieve clean and elegant results. Ready to begin?
Where Did Latte Art Originate?
Although it may seem like a recent trend, Latte Art has deep roots dating back to the 1980s, in two very different but equally coffee-passionate places: Seattle (USA) and Verona (Italy).
In Seattle, David Schomer, founder of the historic café Espresso Vivace, was one of the first to study microfoam behavior, codifying the techniques and movements that still form the basis of modern Latte Art. At the same time in Italy, Luigi Lupi, who won the first Italian Barista Championship, developed his personal style of cappuccino decoration, becoming one of Europe’s pioneers in this discipline.

In the following decades, Latte Art spread across the globe, giving rise to international competitions, certification systems like the Latte Art Grading System (of which Espresso Academy is an authorized center), and a true culture that blends technique, aesthetics, and passion.

What Do You Need to Get Started?
You don’t need sophisticated equipment to begin, but you do need the right tools. A good espresso machine with a powerful steam wand is essential to produce proper milk emulsification. For home use, machines with an E61 group or dual boiler systems are highly recommended, as they provide thermal stability and consistent steam pressure. However, even some well-managed single boiler models can yield satisfactory results.
A stainless steel milk pitcher with a narrow spout allows for precise control of the pour. A 300 ml pitcher is ideal for a single cappuccino, while a 500 ml one works well for two.
The ideal milk is fresh, whole milk with at least 3.2% protein. Proteins, along with sugars and fats, help create the microfoam necessary for Latte Art. Thanks to the evolution of plant-based alternatives, Barista-grade plant milks—like oat, soy, and almond—can also perform well when steaming, as long as they contain a sufficient amount of protein and suitable stabilizers.
The cup also plays a crucial role. Choose one with a wide mouth, rounded shape, and thin rim, as these features improve visibility and control during pouring.
The Heart of Latte Art: Steaming the Milk
A beautiful design starts with perfectly steamed milk. The goal is to create microfoam that is shiny, velvety, and fluid, resembling white paint. The process has two phases: stretching and polishing.
In the stretching phase, you introduce air into the milk by keeping the steam wand just below the surface. You should hear a soft and steady hissing sound, often referred to as the “milk’s song.” Once enough air has been incorporated, the milk is spun in a vortex motion to evenly integrate the air.
This rotation is essential, because during steaming, the liquid milk and the foam tend to separate. If not homogenized properly, the heavier liquid falls first, followed by a dense clump of foam—which ruins the pour and the symmetry of the final design.
When pouring two cappuccinos from the same pitcher, it’s crucial to divide the foam evenly between the cups—not just to get two symmetrical designs, but to ensure both drinks have the same texture and flavor balance.
Pouring Latte Art: Height and Flow
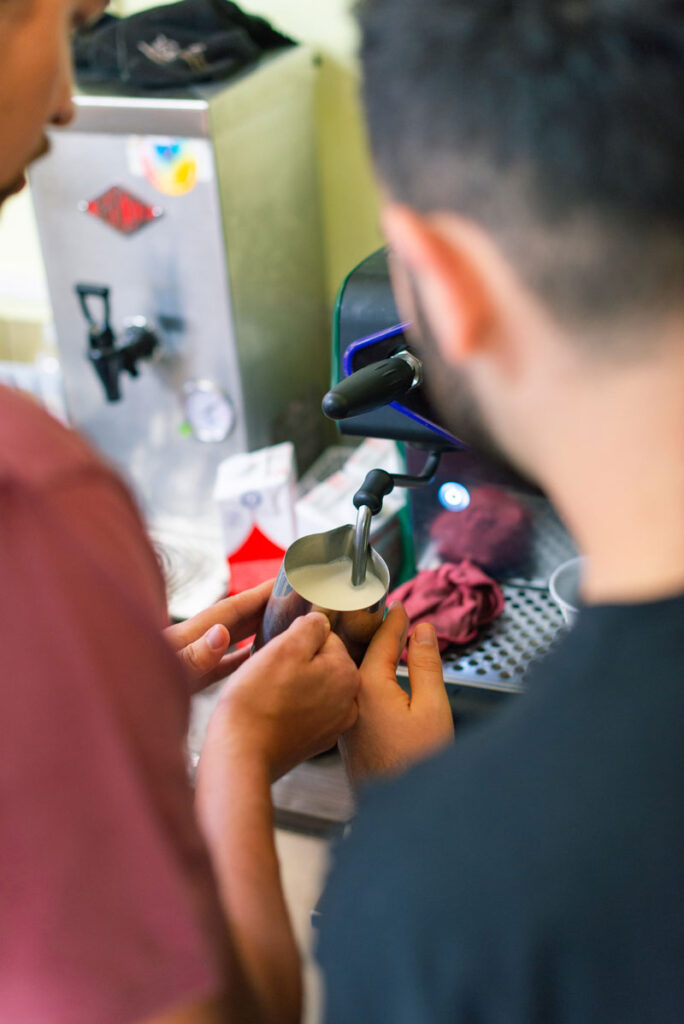
Once you have the perfect milk texture, it’s time to pour. But pouring Latte Art is not just about “drawing”—it’s about precisely controlling the flow of milk into the espresso. Two elements matter most: height and flow rate.
When you pour from a height of around 5–10 cm, the milk dives below the espresso crema, creating a smooth brown surface—your canvas. When you bring the pitcher closer to the surface, the milk floats on top, forming the white pattern.
At the beginning, use a slow and steady flow to preserve the crema. When it’s time to draw, increase the flow slightly to give the milk horizontal strength, allowing it to spread across the surface and “write” with white ink.
The Three Basic Patterns: Heart, Rosetta, and Tulip

The heart is the best design to start with. Pour from about 10 cm above the cup, aiming for the center. When the cup is about one-third full, lower the pitcher close to the surface and increase the flow slightly.
As soon as you see a white circle appear, cut through the center of it with a forward motion, lifting the pitcher like an airplane taking off.

The rosetta is a more advanced and fluid pattern. Begin like the heart, but once the pitcher is close to the surface, start a side-to-side wiggling motion while slowly pulling back toward the rim of the cup.
When full, lift the pitcher vertically like a helicopter, reduce the flow, and cut through the pattern in a single forward motion.

The tulip is made of several stacked elements.
Start pouring from above, then lower the pitcher and form a small white dot.
Stop, move the pitcher slightly back, and repeat the process to create 2 or 3 more dots, straightening the cup after each element. End with a vertical lift and a final cut through all the elements.
Symmetry and Contrast: The Two Fundamental Criteria
Every Latte Art design is evaluated primarily on symmetry and contrast.

Symmetry means the pattern is centered in the cup, balanced, and evenly proportioned. In competitions, the cup is always presented to the judge with the handle on the right. Therefore, if you pour with your right hand, the handle should face you; if you pour with your left, it should face away. Keep your pitcher perfectly straight and at a 90° angle to the handle to avoid drifting the design off-center.
Contrast is the visual clarity between the white of the milk and the brown of the espresso crema. It’s what makes your design readable. To achieve good contrast, start with the cup tilted at a 45° angle, pouring from above to allow the milk to sink below the crema without disturbing it. This creates a clean brown canvas for your design to stand out.
Practice Every Day
Latte Art isn’t something you master in a day. It takes repetition, sensitivity, and patience. Even world champions started with wobbly hearts and broken rosettas. Practice consistently—even with water and detergent in the pitcher to avoid wasting milk, or use specific training products like Foamy, which we also use at Espresso Academy for sustainable practice sessions.

Ready to Level Up?
If you’re serious about learning, guided by experienced trainers in a practical and professional setting, the Latte Art courses at Espresso Academy are the perfect choice. From your first heart to competition-level pours, we’ll teach you to master every detail: from milk steaming to flow control, from symmetry to contrast.
Our courses are available in person in Florence, or as a comprehensive online video course, so you can learn from anywhere.
