


How to Dial In Espresso: The Professional Barista Workflow (With Advanced Troubleshooting)
27 January 2026
How Espresso Flavor Changes by Varying Espresso Flow at the Group Head
2 March 2026How to Steam Milk for Cappuccino: A Complete Microfoam Guide

montare il latte per cappuccino
Why microfoam is the real cappuccino upgrade
Steaming milk isn’t about making “lots of foam”. It’s about building microfoam: tiny, even bubbles that create a silky, glossy texture. That texture improves perceived sweetness, integrates with espresso, and makes latte art possible.
Great microfoam should be:
- pourable, not spoonable
- smooth and shiny
- stable, with no obvious bubbles
- integrated (no “foam cap” sitting on top)

What you need (and what matters most)
Essentials
- an espresso machine with a strong steam wand
- a stainless steel pitcher (350–500 ml is great for cappuccino)
- cold milk straight from the fridge
- a clean cloth + disciplined hygiene
Non-negotiable: always purge before and after steaming. Condensation and residue kill texture and add off-fl
The barista concept: two phases, one goal
1) Stretching (controlled aeration)
You add air—this sets the foam level.
2) Texturing (emulsification)
You create a vortex that blends air and milk into a smooth emulsion.
Most problems come from imbalance:
- too much stretching → big bubbles, dry foam
- too little stretching → thin milk, no body
- no vortex → separation
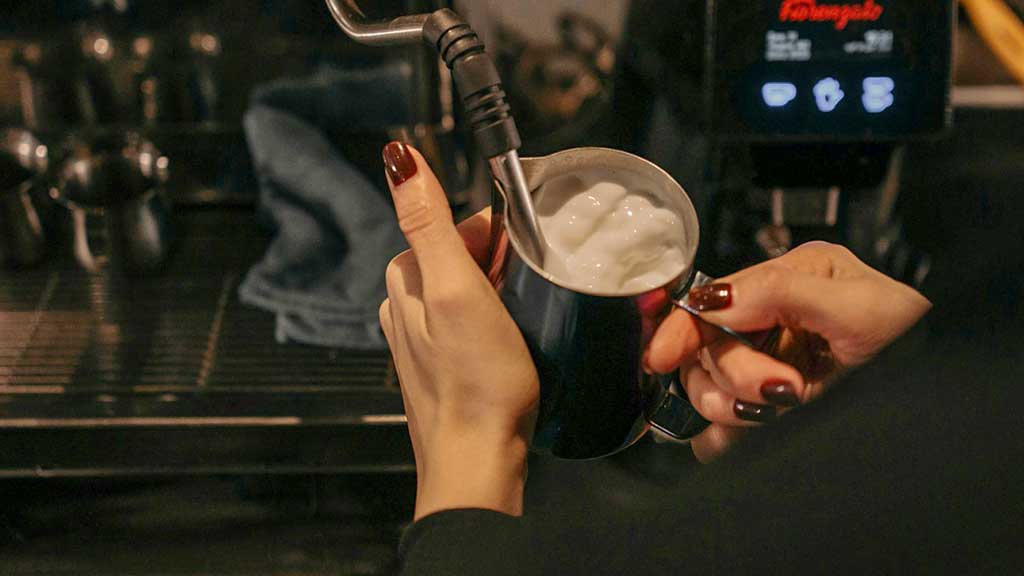
Step-by-step: how to steam milk for cappuccino (silky microfoam)
1) Fill level
Fill to just below the spout start (roughly 1/3–1/2 of the pitcher).
Too much = no room to expand. Too little = heats too fast.
2) Wand placement
- tip near the side, not the center
- tip just under the surface
- slight pitcher angle to “catch” a whirlpool
3) Purge
Open steam for a second before entering milk.
4) Stretching: a few seconds, the right sound
Use strong steam. Listen for a light “tss-tss” sound.
- loud chugging = tip too high (too much air)
- no sound = tip too deep (no air)
For cappuccino: small, controlled aeration.
5) Texturing: deepen slightly and build a stable vortex
Lower the tip a touch and keep the whirlpool stable.
This is where bubbles become microscopic and the surface turns glossy.
6) Stop at the right temperature
Stop when the pitcher is hot but still touchable (not burning).
Overheating destroys sweetness and makes milk taste “cooked”.
7) Finish: tap & swirl
- gentle tap to pop any visible bubbles
- strong swirl to integrate the foam
Perfect microfoam should be shiny and pourable.

Quick quality check
Correct
- glossy surface
- no visible bubbles
- flows like wet paint
- no separation
Incorrect
- big bubbles → too much aeration
- foam cap + liquid milk → no vortex
- thin texture → not enough aeration
- cooked flavor → overheated
Common mistakes (fast fixes)
Big bubbles → lower the tip + shorten stretching.
Separation → move wand to the side + improve vortex.
Too thick / won’t pour → less air (shorter stretching).
Cooked milk taste → stop earlier; temperature is everything.
A consistent café workflow (service-ready routine)
- Cold milk + right pitcher size
- Purge
- Short stretching
- Strong vortex texturing
- Stop at correct temp
- Purge + clean wand
- Tap + swirl
- Pour immediately
Ready to level up?
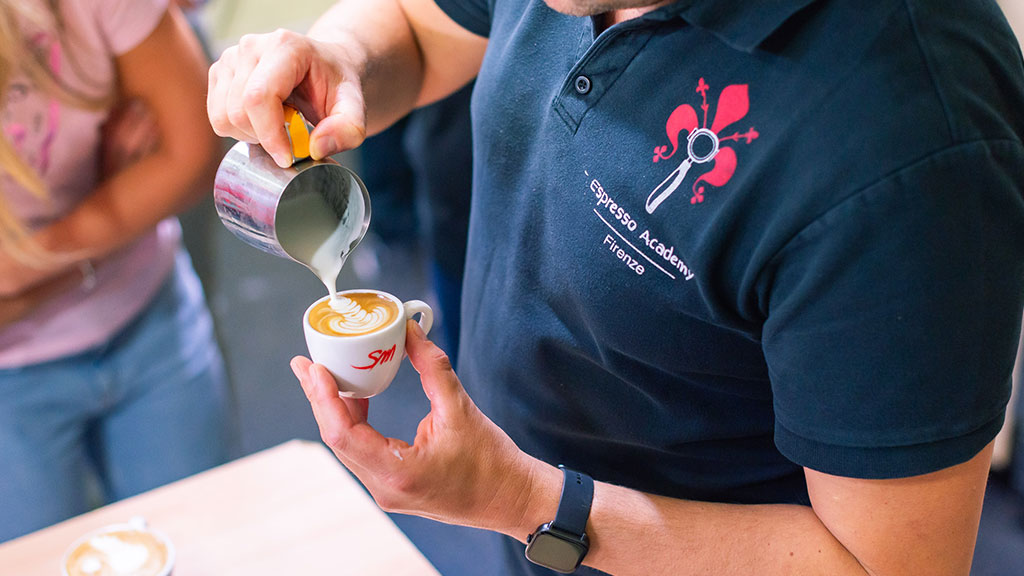
If you want consistent cappuccinos and microfoam you can repeat every day, guided practice and a clear workflow make the difference.
The Barista course builds a complete method (espresso + milk + service): dialing-in, recipes, cleanliness, and service routines—so your cappuccinos stay solid even during busy shifts.
Explore Espresso Academy’s Barista course and build a professional, repeatable method from espresso to microfoam.
The Latte Art course turns microfoam into clean pours and repeatable base patterns (heart, tulip, rosetta), with real-world troubleshooting and texture control across different machines.
Explore Espresso Academy’s Latte Art course and pour with confidence and consistency.
If your goal is the full cappuccino experience (espresso + milk + pouring), the best path is Barista + Latte Art: first you lock in consistency and workflow, then you refine pouring precision and speed.
Explore Espresso Academy training paths and pick the right level for you.